Jennifer Lambert

A Sacred Balance

Visit Us On FacebookVisit Us On TwitterVisit Us On PinterestVisit Us On InstagramVisit Us On LinkedinCheck Our FeedVisit Us On Youtube
  • Homeschool
    • Book Lists
    • How Do We Do That?
    • Notebooking
    • Subjects and Styles
    • Unit Studies
  • Travel
    • Europe
      • Benelux
      • France
      • Germany
      • Greece
      • Ireland
      • Italy
      • London
      • Porto
      • Prague
    • USA
      • Chicago
      • Georgia
      • Hawaii
      • Ohio
      • Utah
      • Yellowstone and Teton
  • Family
    • Celebrations
    • Frugal
  • Military Life
    • Deployment
    • PCS
  • Health
    • Recipes
    • Essential Oils
    • Fitness
    • Mental Health
    • Natural Living
    • Natural Beauty
  • Faith
  • About Me
    • Favorite Resources
    • Advertising and Sponsorship
    • Policies
  • Reviews

© 2023Jennifer Lambert · Copyright · Disclosure · Privacy · Ad

Garlic Knots

This blog may contain affiliate links: disclosure. Please see my suggested resources.

March 8, 2021 By Jennifer Lambert 8 Comments

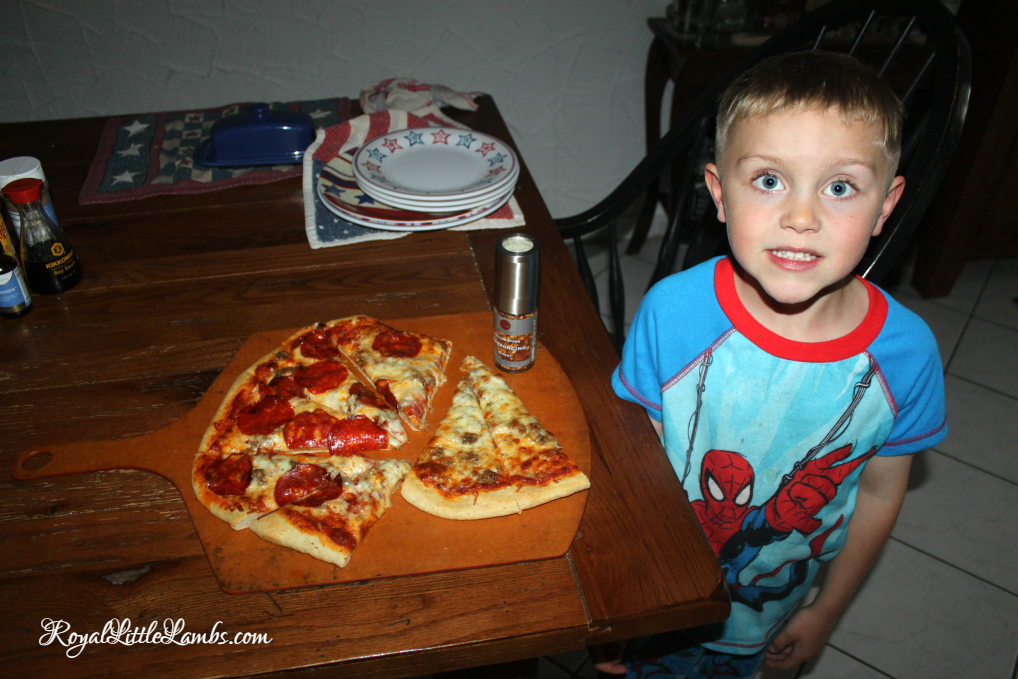
We have pizza night every week, usually on Fridays.

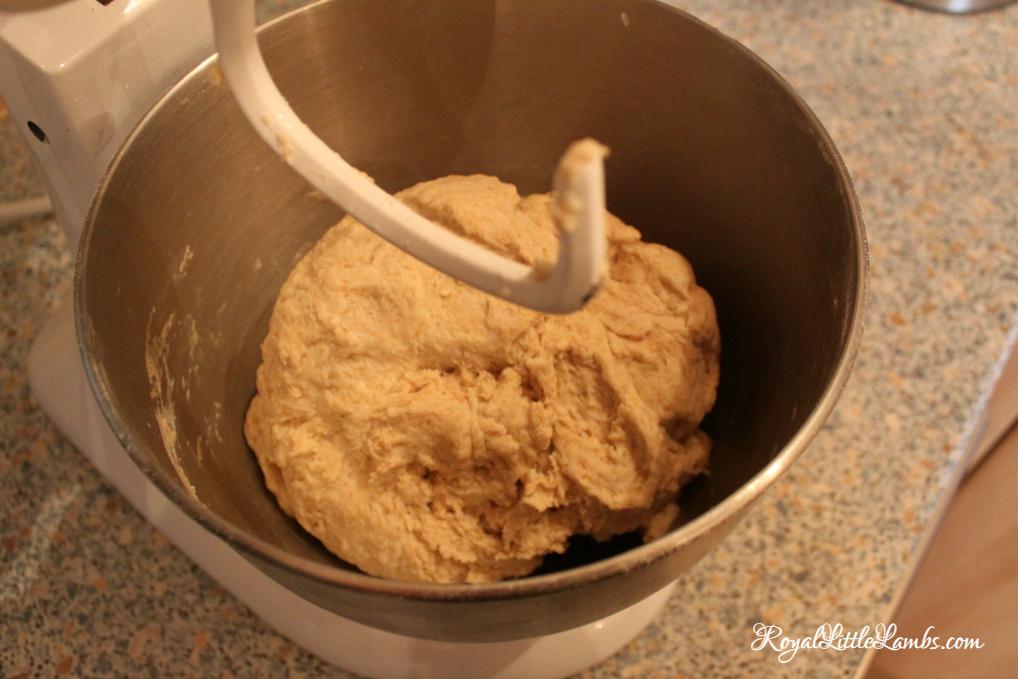
We make our own pizza dough.

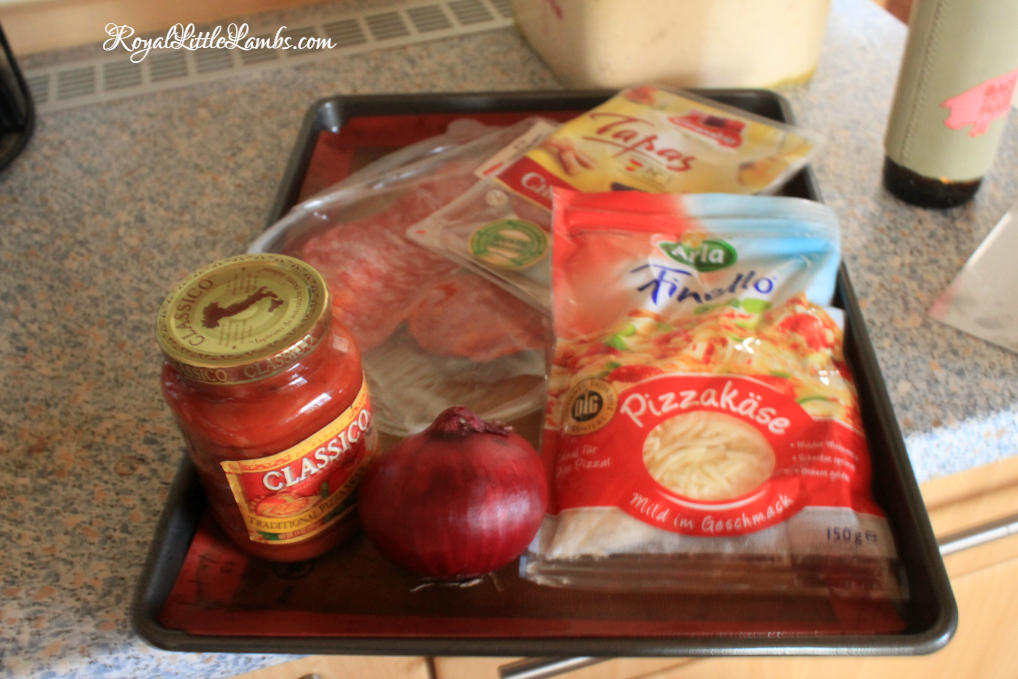
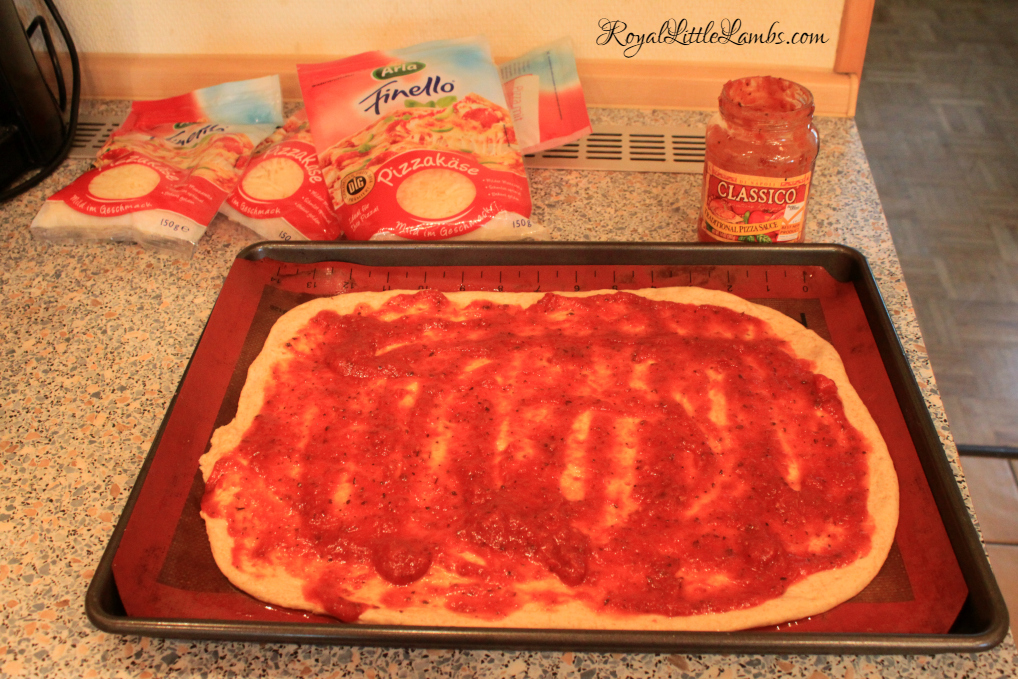
We often make our own marinara sauce.

We each have our favorite toppings.

Lately, we’ve been making these amazing garlic knots.

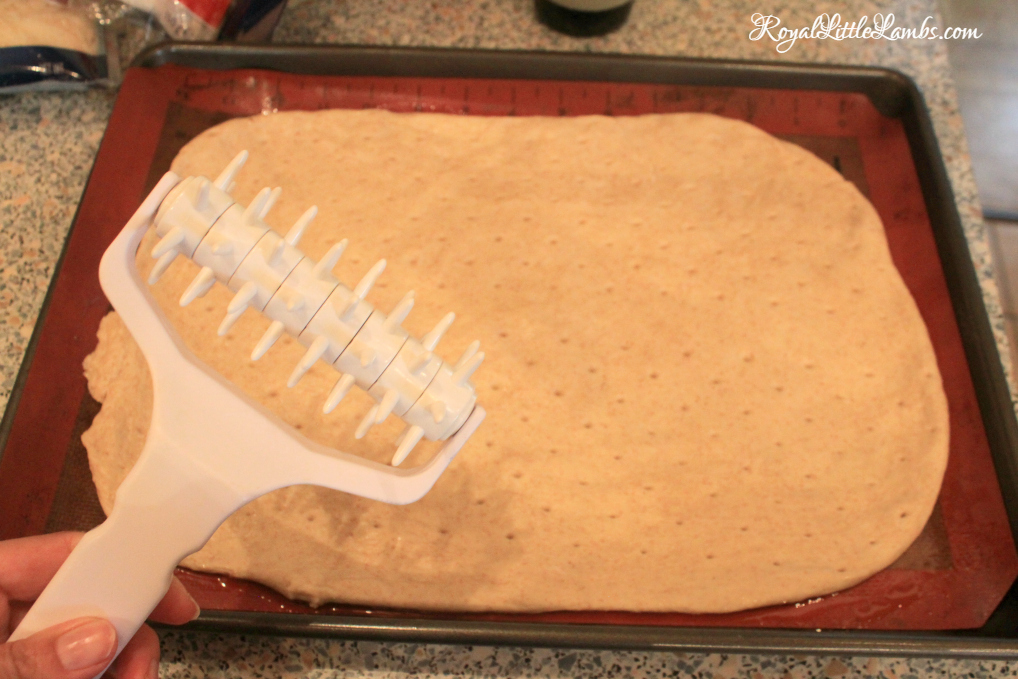
We keep one of our pizza doughs separate and cut it into slices.

One of my kids rolls each slice into a string and braids it into these gorgeous knots!

They’re like little baskets of delicious.

A brush of egg white makes them crispy and shiny.

They puff up just right and are chewy inside while crispy outside.

I think we might put some cheese inside to see how that turns out.

A brush of garlic butter after they bake makes the whole kitchen smell amazing.

These garlic knots are great with a sprinkle of herbs and Parmesan and served with warm marinara sauce.

This is our favorite pizza dough recipe for these garlic knots.

Print

Garlic Knots

Ingredients

  • 1 pizza dough https://www.jenniferalambert.com/homemade-pizza/

Instructions

  1. Cut pizza dough into 16-18 slices and roll into long strings

  2. braid, twist, or spiral into roll shapes and place on baking sheet

  3. brush with egg white

  4. 10 minutes in 500* degree oven

  5. Brush with garlic butter after baking and sprinkle with Parmesan cheese

  6. Serve hot with marinara sauce

Linking up: Random Musings, Mostly Blogging, Anita Ojeda, April Harris, Marilyn’s Treats, Little Cottage, Suburbia, LouLou Girls, Our Three Peas, Grandma’s Ideas, OMHG, Anchored Abode, Soaring with Him, Ridge Haven, Girlish Whims, Fluster Buster, Ginger Snap, Ducks in a Row, Try it Like it, Katherine’s Corner, Penny’s Passion, Crystal Storms, Debbie Kitterman, CKK, Imparting Grace, Slices of Life, Chic on a Shoestring, Momfessionals, Answer is Choco, Simply Sweet Home, Grammy’s Grid, My Bijou Life, CWJ, Create with Joy,

Share
Tweet
Pin17
Share
17 Shares
You might also like:

Filed Under: Recipes Tagged With: bread, pizza, recipe

Tortilla Pizzas

This blog may contain affiliate links: disclosure. Please see my suggested resources.

May 24, 2017 By Jennifer Lambert 21 Comments

Tortilla pizzas are a super easy meal that kids can make themselves!

We love using leftover wheat homemade tortillas, but storebought ones are fine.

These are great to make when we travel or during PCS season when our household goods are all packed up and shipped. They’re easy and don’t require much prep or equipment.

It’s super easy with all-natural breakfast sausage and a shredded Italian cheese blend. We always have those on hand.

You can add more toppings, but these simple tortilla pizzas are just super easy and crowd pleasers.

My 10-year-old daughter, Katie, loves to make these for herself and her siblings for lunches or snacks.

We had three storebought tortillas, just enough for a light lunch. The homemade ones don’t last long around here!

Kraft cheese isn’t ever my first choice, but it’s what’s available to us from the commissary and melts better than other choices from either the commissary or German stores.

Katie lovingly spreads the sauce on the tortillas. She’s so much more careful than I’d be!

She evenly distributes the sausage.

She puts on just enough cheese.

I love the height of my oven, that makes it easy to get pans in and out!

She sets our retro timer for 10 minutes.

And then: delicious, melty tortilla pizzas!

I like mine with onions and peppers.

I imagine trying lots of fun new flavors. These could great appetizers for a party too!

The crispy tortilla crust is amazing.

It’s hardly a recipe with only 4 or so ingredients…

Print

Tortilla Pizzas

A super easy and frugal meal that kids can make themselves! You can add whatever toppings you like!
Cuisine Italian
Prep Time 5 minutes
Cook Time 10 minutes
Total Time 15 minutes
Servings 4

Ingredients

  • 4 tortillas
  • 4 T pizza sauce
  • 3 oz sausage
  • 4 oz Italian cheese

Instructions

  1. Preheat oven to 400*
  2. Brown sausage in a pan.
  3. Spread pizza sauce on tortillas. Sprinkle sausage on. Spread cheese on top.
  4. Bake in oven for about 10 minutes.


Share6
Tweet
Pin90
Share
96 Shares
You might also like:

Filed Under: Recipes Tagged With: frugal, pizza, recipe

Homemade Pizza

This blog may contain affiliate links: disclosure. Please see my suggested resources.

June 22, 2015 By Jennifer Lambert Leave a Comment

We have homemade pizza every week. The kids looks forward to Pizza Night. We usually watch a movie.

Our Homemade Pizza Recipe is simple, tasty, and all natural!

I perfected this recipe during our first deployment. It saved us a lot of money and is super healthy compared to takeout.

My second job was at Pizza Hut. I paid attention.

I start by proofing the yeast. I add warm water, yeast, and olive oil and whirl it around to blend. Then walk away.

First Ingredients for Pizza

After about 5 minutes, the yeast is frothy and smells great.

Proofed Yeast

I add a blend of flour to get the perfect texture in my pizza crust.

Second Ingredients for Pizza

If you can find a pizza flour or pastry flour, it makes a difference!

Pizza Flour

I pour the flour in on top of the yeast and sprinkle with salt.

Adding Flour and Salt to Yeast Mixture

Having the right tools is important! These are the best baking pans.

Pizza Pans

The dough is all ready when the sides of the bowl are mostly clean. Perfect consistency: not too dry and not too wet.

Mixed Dough

I knead the dough for a few minutes with olive oil. Sometimes, I’ll use more flour if it’s a very wet day.

Dough Ball

Time to let the dough rise for about an hour. I love these cube containers! I often set it by the radiator since it’s warmer there.

Time for a beer!

After an hour, it’s soft and almost double in size. Smells great!

Risen Dough

I love this little scraper, divider, cutter thing.

Divider Cutter

I dump the dough out and divide into quarters for four pizzas.

Divide into Four Dough Balls

I spread the dough by hand and docking eliminates any air bubbles.

Docking to Eliminate Air Bubbles

Time to gather toppings. We like various pepperonis and salamis and sausage. I love red onion, peppers, and mushrooms. Everyone likes extra cheese!

A little sprinkle of fresh Parmesan on top of any pizza is wonderful, by the way.

Drizzle just a wee bit of olive oil for a nice crisp.

Pizza Toppings

I love this brand of pizza sauce since it’s natural, with no icky ingredients. It’s the only one I can find lately.

We often can our own marinara.

I haven’t harvested any tomatoes in a while. I might just go to the farmer’s market and buy a case or two!

Pizza Sauce

Gotta add a sprinkle of oregano. Trust me.

And sometimes a sprinkle of basil and garlic powder.

Oregano

I like the edges crispy. I leave mine in the oven longer than the kids’ pizzas.

Cooling Pizza

The best pizza cutter tool. It rocks back and forth. It’s fun.

Pizza Cutter

This boy is super happy and ready to eat and watch a movie!

Pizza Night

Top the stretched out pizza dough with favorite toppings and bake at 450* for about 10 minutes.

Honey or sugar is optional and just makes the dough a bit sweeter.

Print

Basic Pizza Dough

Course Main Dish
Cuisine Italian
Prep Time 10 minutes
Cook Time 10 minutes
Servings 4 large dough balls

Ingredients

  • 1 packet yeast or 2 1/4 t
  • 2 cups warm water
  • 1 T honey or sugar optional
  • 1/2 c olive oil
  • 6 cups flour I do a blend of pastry or bread flour and whole wheat
  • 1 t kosher salt

Instructions

  1. Add yeast, oil, salt, and honey to water and let proof for about 5 minutes until bubbly.

  2. Add flour gently and mix until it forms a ball.

  3. Knead for a few minutes on floured countertop and form into a boule.

  4. Let rest for at least 1 hour in oiled lidded container. It will double in size.

  5. Cut dough balls into desired sizes for pizza. Use fingers to spread into desired shape, not a rolling pin.

  6. Dock to eliminate air bubbles. If using a peel, sprinkle semolina or cornmeal to keep dough from sticking. Place dough on peel.

  7. Add sauce and toppings.

  8. Slide pizza onto stone in oven. Bake at 500* for about 10 minutes.

  9. Cut and serve immediately.

Recipe Notes

This dough recipe makes two large pizza doughs.


Some of my favorite pizza tools:

Our new and improved pizza recipe:

UPDATE:

Now that we’ve moved back to the States, I’ve invested in some pizza stones. We bake the pizza at 500* for about 10 minutes. I use Wheat Montana flour.

Print

Pro Pizza Dough

Course Main Dish
Cuisine Italian
Prep Time 10 minutes
Cook Time 10 minutes
Servings 6 personal pizzas

Ingredients

  • 2 cups warm water
  • 1/2 cup extra virgin olive oil
  • 2 T yeast
  • 1 T kosher salt
  • 6 cups really good quality AP flour I use 5 cups Wheat Montana Premium All-Purpose Flour and 1 cup white or whole wheat

Instructions

  1. Mix ingredients in stand mixer until dough pulls away from sides of bowl.

  2. Knead dough on stone counter until it feels smooth. I usually don't need to add any more flour or oil.

  3. Coat with about a tablespoon of good olive oil and place in sealed container for a few hours to rise.

  4. Cut into individual size doughs and press out dough by hand. (Using a rolling pin makes it tough.)

  5. Place dough on pizza peel. Use semolina to keep dough from sticking. Top with your favorite toppings.

  6. Bake for about 10 minutes in 500* oven on preheated pizza stone.

Recipe Notes

This dough recipe makes enough for 6 personal pizzas that fit well on our pizza stones. 

Share
Tweet
Pin1
Share
1 Shares
You might also like:

Filed Under: Recipes Tagged With: frugal, pizza, recipe

Papa Murphy’s Pizza Review

This blog may contain affiliate links: disclosure. Please see my suggested resources.

February 20, 2014 By Jennifer Lambert Leave a Comment

When I saw the email in my inbox about trying some Take N Bake Pizza from Papa Murphy’s, I couldn’t reply with my interest quick enough! So here’s our Papa Murphy’s Delectable Pan and Regular Pizza Review.

An amazing alternative to greasy lukewarm delivery or tasteless frozen grocery store pizza, Papa Murphy’s provided fresh prepared pizzas and sides to bake at home.

Here’s our local store, only 2 miles away.

Papa Murphy's Pizza

Smiling workers greeted my husband when he arrived to purchase our pizzas.

We love this Passion for Perfection plaque. Quality ingredients!

I love that the meat has no fillers and everything is natural. Just like we would want!

Passion for Perfection

A fun shot of the snowy mountains with the neon pizza sign:

Here are all the yummy fresh toppings for your viewing pleasure. I love ground beef as a topping! yum! They prepared the pan pizza while I watched. Fresh!

fresh pizza toppings

Cookie Dough? Seriously? And they give coupons with the pizzas…so next time…:)

Cookie Dough and Salads

Here’s a sticker on the new pan pizzas. “Don’t let the goodness escape.” NEVER!

Buttery Goodness

For $20+tax, we got more than enough food for our family of 6!

2 orders of Cheesy Bread:

2 1-topping regular crust pizzas:

and 2 bottle of soda (the kids were thrilled for this treat!):

There are two baking options for the regular crust pizzas.

1. Leave it on the provided pan the whole cooking time

2.or place on the oven racks halfway through

We prefer it on the crisper side, so we removed the pan after 10 minutes.

Delectable!

The cheesy bread is really, really delicious, especially dipped in the red sauce! I love the texture of the crusts. The sauce is just the right amount and the flavor is great. The pepperoni has a bit of a kick! The sausage are big meatballs and the cheese (although never enough anywhere – haha!) is great quality and browns up beautifully.

These are just really good pizzas for a fun movie night at home.

Check out this pan pizza (only $10+tax) with thick crust and cheesy deliciousness:

Papa Murphy's Cheese Pan Pizza

And then the melty goodness:

Papa Murphy's Pan Pizza

My husband said this is a very cost-effective alternative to making our own if we run late on schedules or need a meal in a pinch. Also think this is a great option for church activities.

It does require a bit of planning since you have to pick it up and bake it, but that’s not a problem. We prefer the freshness factor and having control of how done we want the crust and cheese.

The kids and my husband really enjoyed the sausage pizza. I especially loved the regular crust pepperoni pizza and everyone adored the cheesy bread with marinara sauce. The pan pizza is a favorite with everybody!

We give Papa Murphy’s 6 thumbs up!

Check out the Papa Murphy’s menu here – and they have new pan pizzas available for $10!

disclaimer.png
Share
Tweet
Pin3
Share
3 Shares
You might also like:

Filed Under: Reviews Tagged With: pizza, review

Free Homeschool Resources (Notebooking Pages) Suggested ResourcesPut back in what the camera took out with PicMonkey's intuitive touch up tools

Archives

Popular Posts

10 DIY Gifts with Essential Oils10 DIY Gifts with Essential Oils
Natural Remedies for HeadacheNatural Remedies for Headache
10 Natural Remedies to Keep on Hand10 Natural Remedies to Keep on Hand
Homemade SunscreenHomemade Sunscreen
Henna Hands CraftHenna Hands Craft
This website uses cookies to improve your experience. We'll assume you're ok with this, but you can opt-out if you wish.Accept Reject Read More
Privacy & Cookies Policy

Privacy Overview

This website uses cookies to improve your experience while you navigate through the website. Out of these, the cookies that are categorized as necessary are stored on your browser as they are essential for the working of basic functionalities of the website. We also use third-party cookies that help us analyze and understand how you use this website. These cookies will be stored in your browser only with your consent. You also have the option to opt-out of these cookies. But opting out of some of these cookies may affect your browsing experience.
Necessary
Always Enabled
Necessary cookies are absolutely essential for the website to function properly. This category only includes cookies that ensures basic functionalities and security features of the website. These cookies do not store any personal information.
Non-necessary
Any cookies that may not be particularly necessary for the website to function and is used specifically to collect user personal data via analytics, ads, other embedded contents are termed as non-necessary cookies. It is mandatory to procure user consent prior to running these cookies on your website.
SAVE & ACCEPT