We are so thrilled to have found Spark Art Studio.
As a home educator, I don’t usually outsource my kids’ education. I can teach art history just fine.
But hands-on arts and crafts is something I often skip at home. While I absolutely love art, I fail in the actual hands-on part of art. I don’t like the setup, research, mess, or cleanup. I don’t have the time, talent, supplies, space, or aptitude. I don’t feel I do art justice or often enough.
These classes are worth every single penny.
The homeschool classes encompass all sorts of fabulous art techniques and art history.
Miss Jamie really goes all out with getting the kids involved in the process and creating amazing and fun projects.

I love this sign that hangs in their waiting room:

Sometimes when we arrive a few minutes early, I overhear the interaction with the previous class. I just love the kindness in Miss Jamie’s voice as she ever so gently guides the toddler and baby in their art exploration, play, and projects. Their mother also is exemplary in her respectful tone and words with her young children. They both are such role models!
I’ve never heard Miss Jamie get exasperated with a child. She must have the patience of a saint!

My kids adore Miss Jamie and the homeschool art class.
Here’s a lovely tribute wall to her mom:

I will sacrifice in other areas of our budget to ensure my kids get their art on.
Spark Art just moved to a new and improved permanent location and it’s just wonderful.
I’ve been so very impressed with all the incredible art my kids have learned about and created each week.

The kids loved making prints and learning about lithographs.

They learned about the Huichol people in Mexico and made some inspired texture designs.
Miss Jamie often gives me neat printouts of the artists and art history for me to bring home for my files. I love that.


I have no interest in glitter.

One of my favorites are these drip paint pieces. I sprayed them with polyurethane and mounted them on our wall.

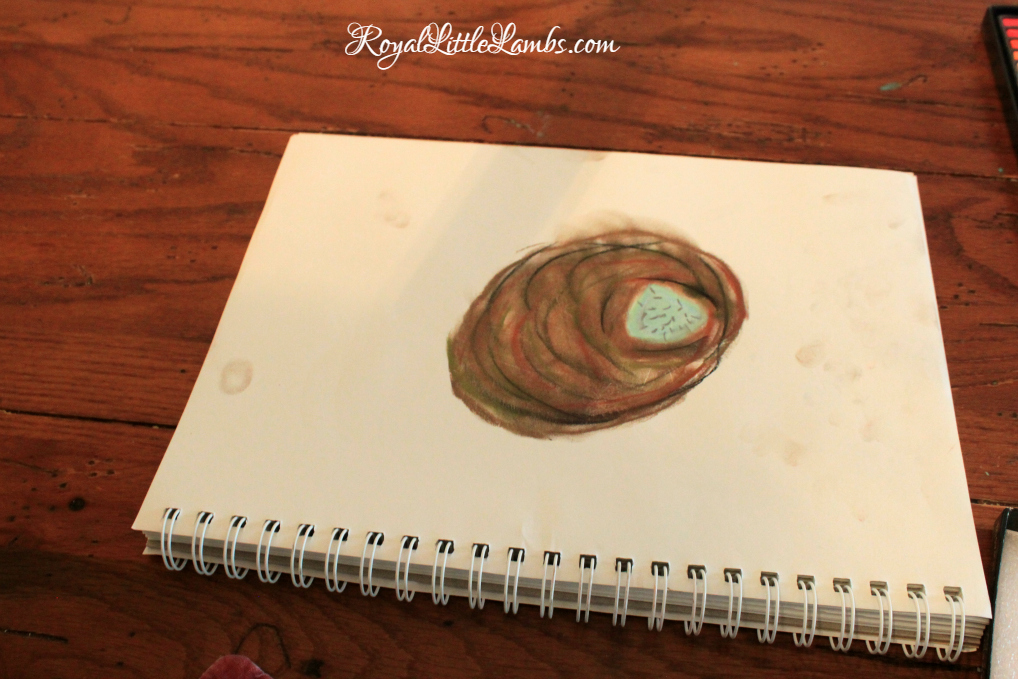
I also love these circles paintings. I plan to frame those and hang them.

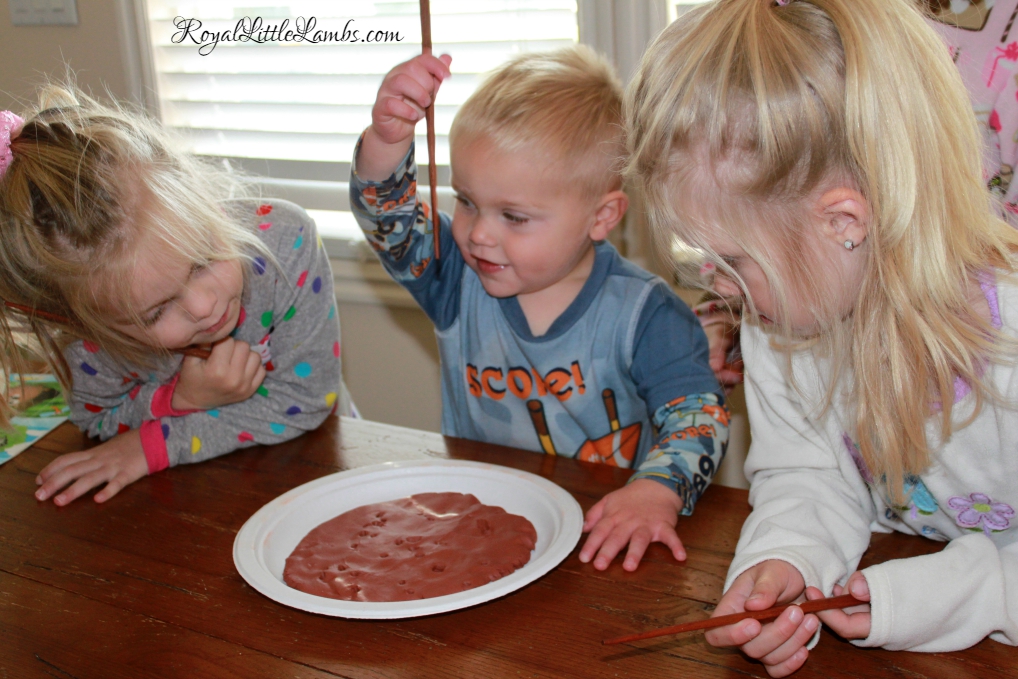
The kids really enjoyed making clay sculptures.
They learned about Helen Frankenthaler one week and painted these amazing rubber band boards. They’re still being stored on the shelf to dry.
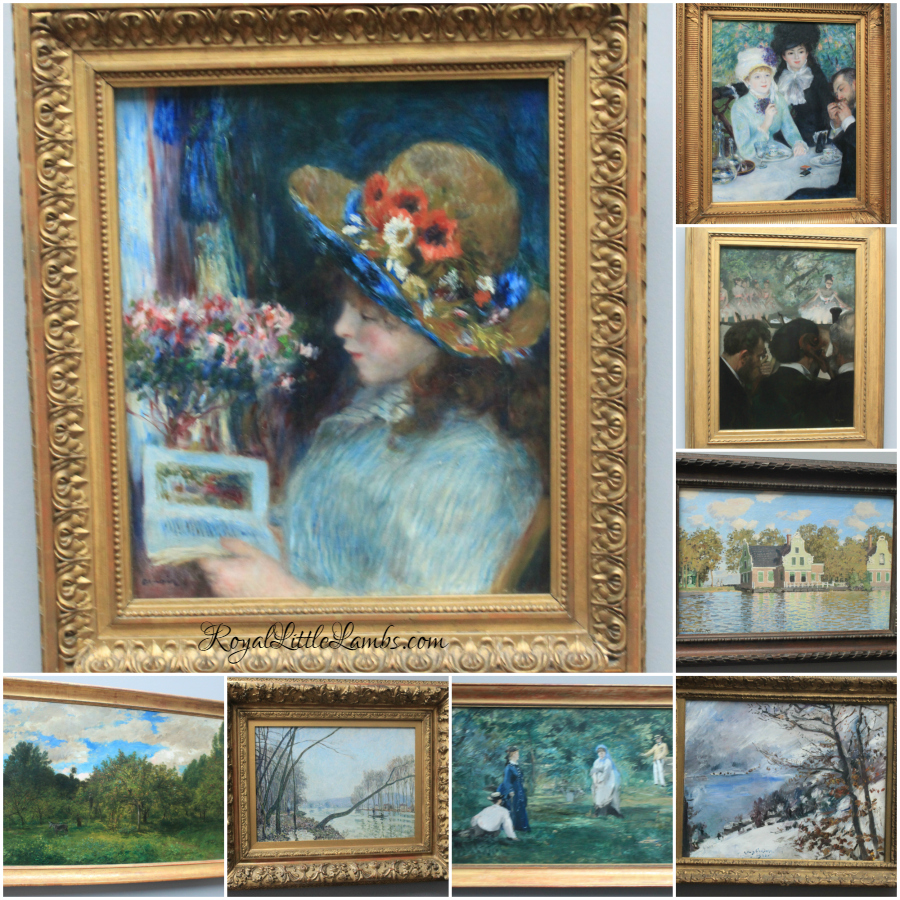
They’ve learned about story book illustrators, painters, performance artists, sculptors, and pop art.
They’ve worked on stop motion videos, anime, drawing, painting.
I love the variety.
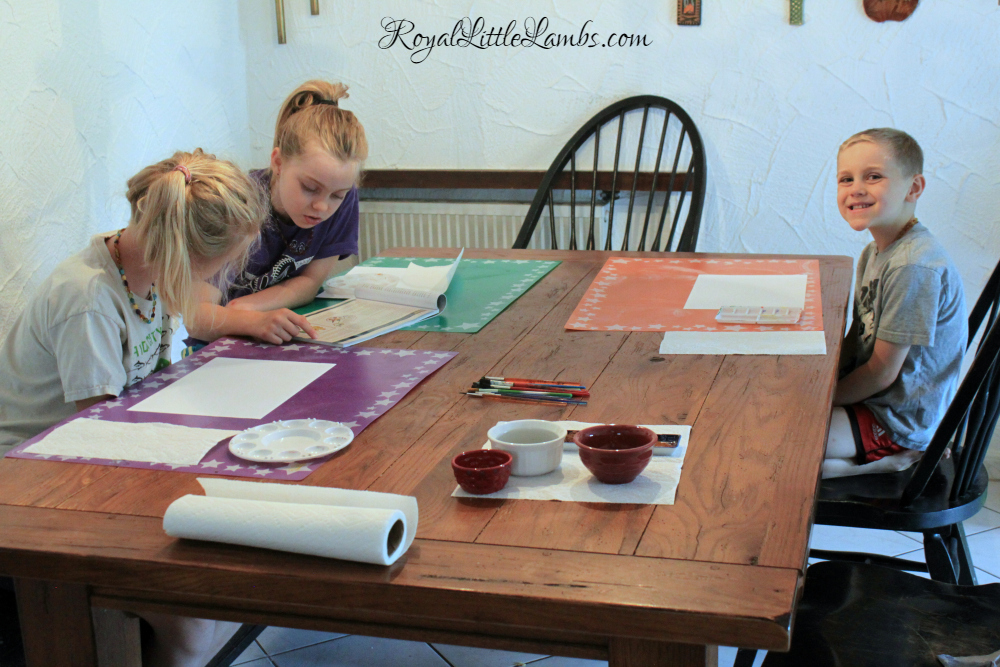
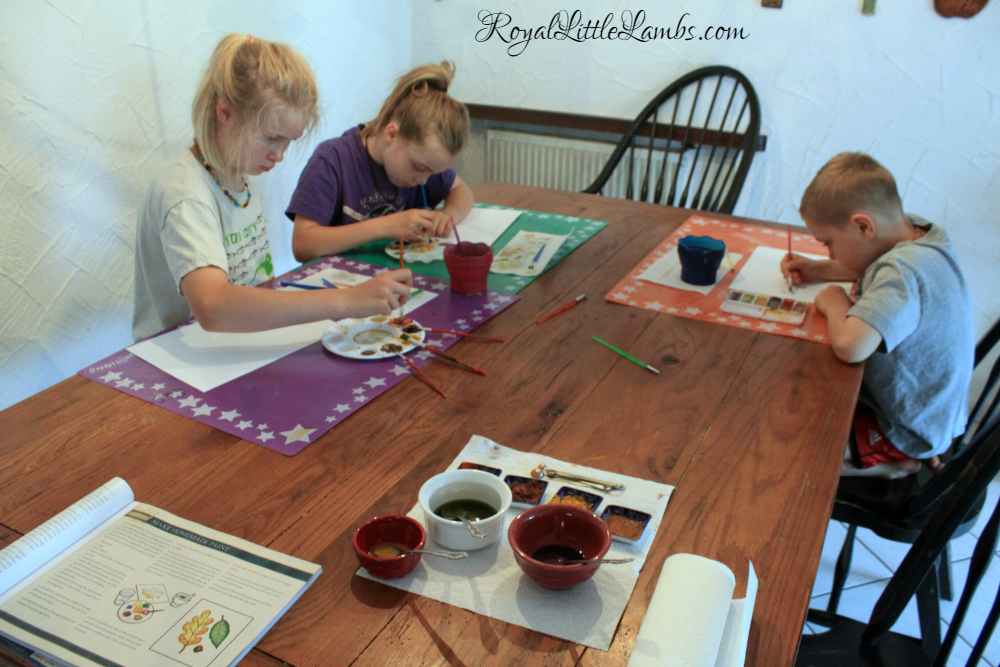
Each homeschool class includes a lesson and/or story and often up to 3-4 projects!
There are classes for everyone!
You can order a whole session of 5 weekly classes or do a drop-in to see if you love it. (You will.)
- Mommy and Me
- Preschoolers
- After School
- Teens
- Homeschoolers
- Adults
There are special holiday workshops, Scouts events, and birthday parties!
The lineup for summer camp looks amazing.
If you live in the Dayton, OH, area…you must visit Spark Art Studio!


 , which probably aren’t the best for fresco-painting.


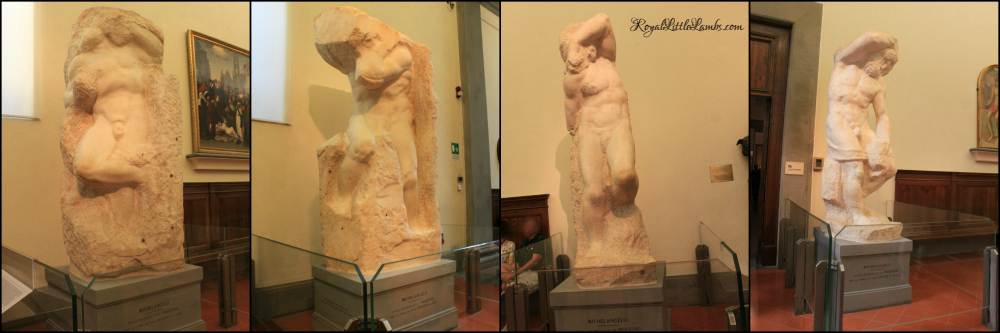
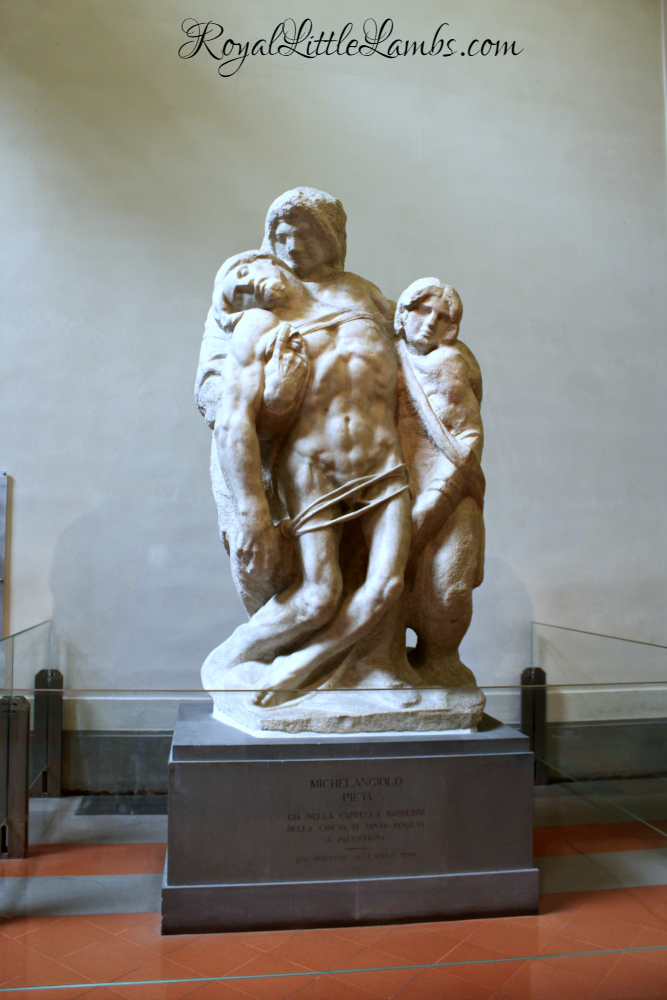
 and the unfinished Truth Unveiled by Time. Spectacular.


 from Chicago Review Press by award-winning author


 .
.


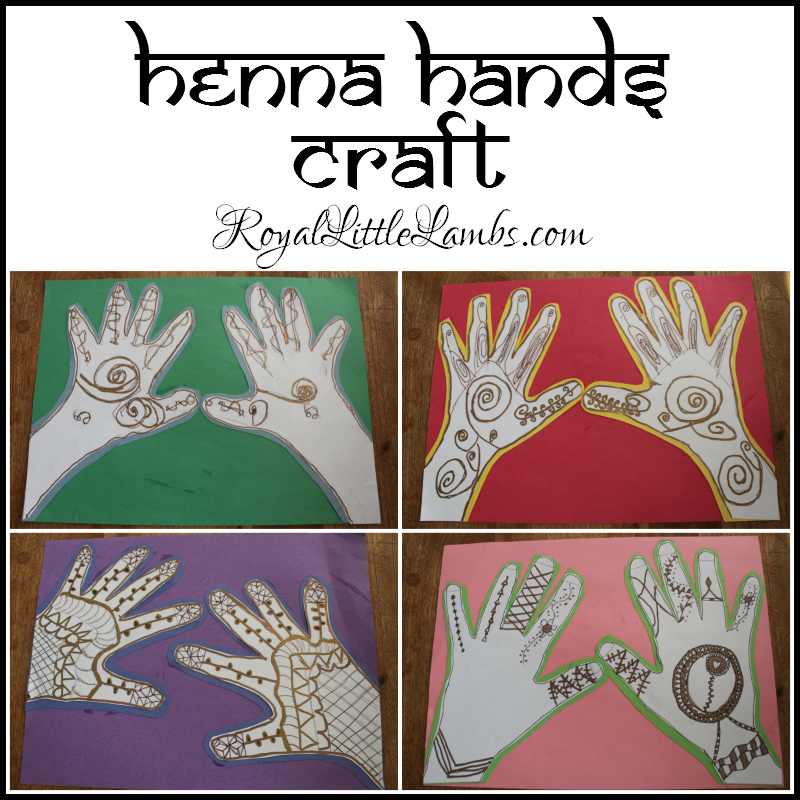
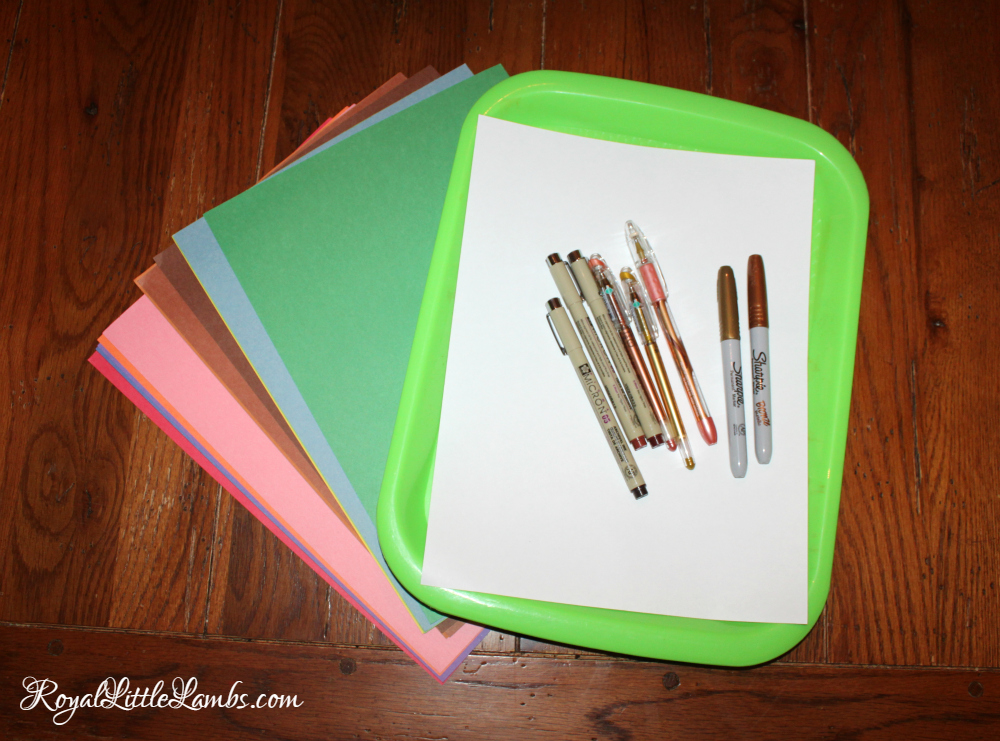
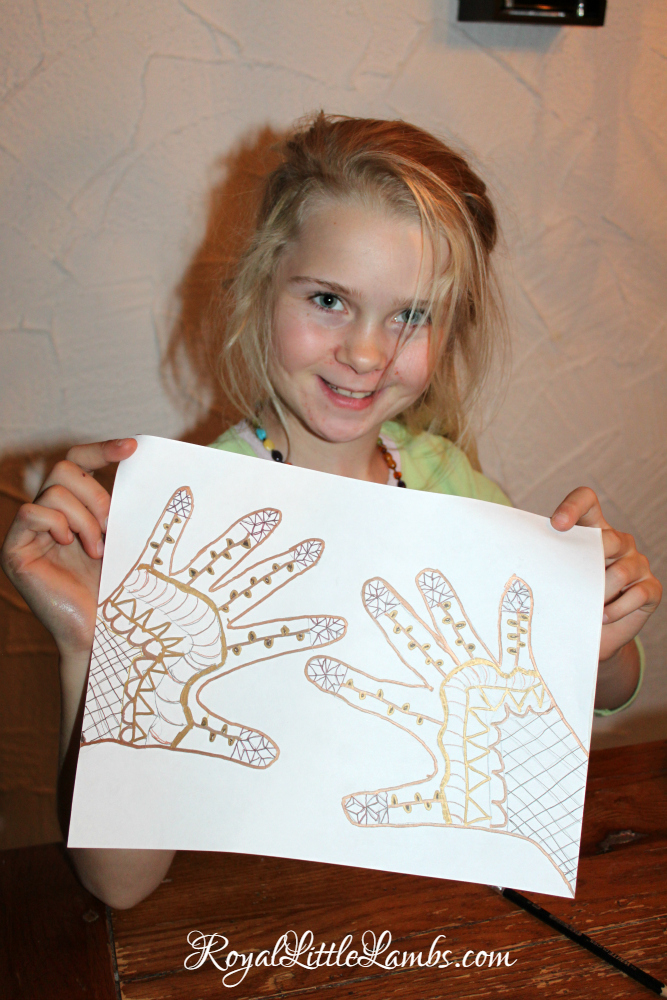
 , metallic
 , and our
  .
.
 .
.
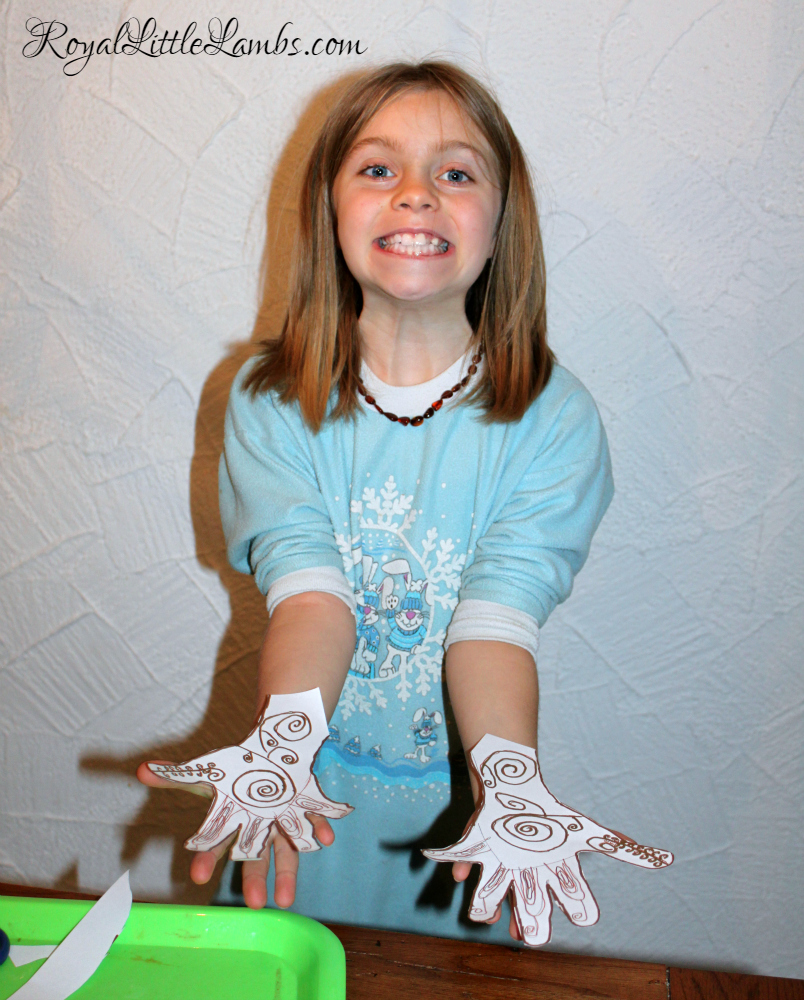


 to see how to use it since it’s a new concept.

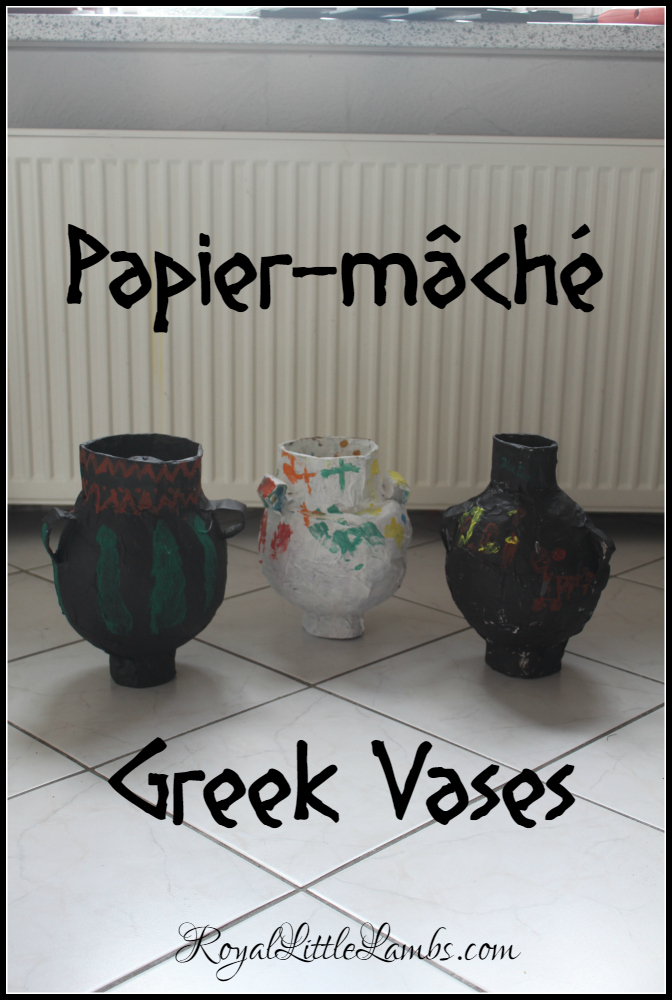
 ,
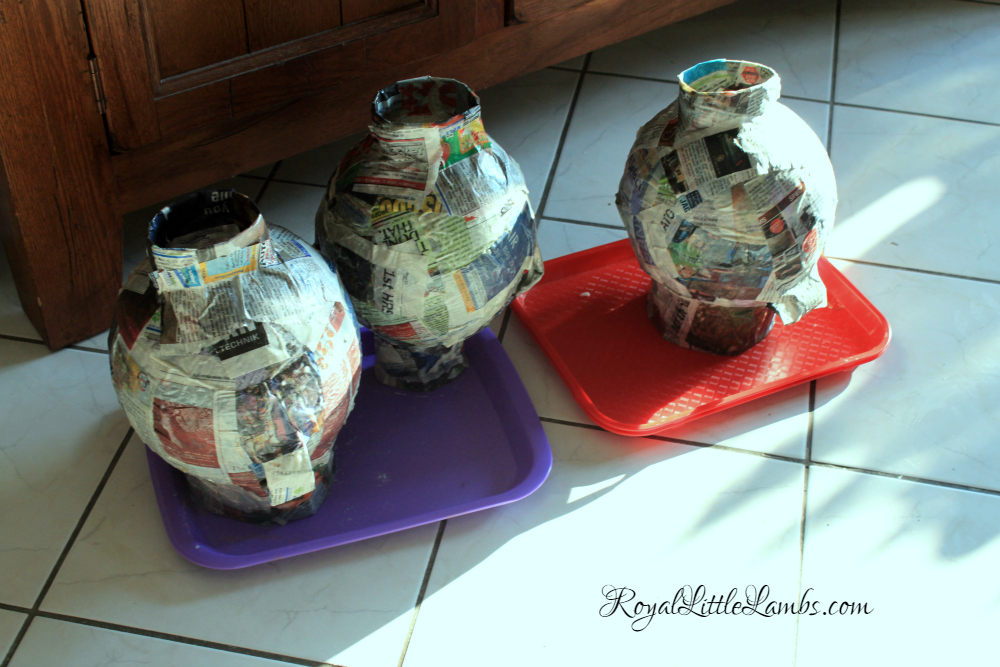
,  , and cardboard for the bases, tops, and handles.
 to keep the vases steady. I poured the glue into an
  .
.
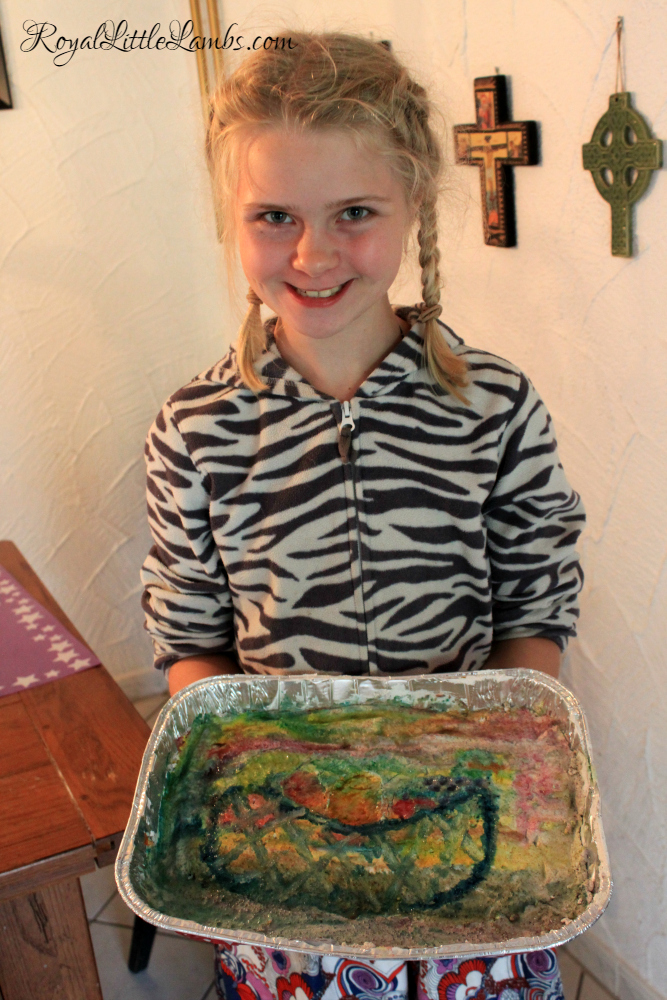
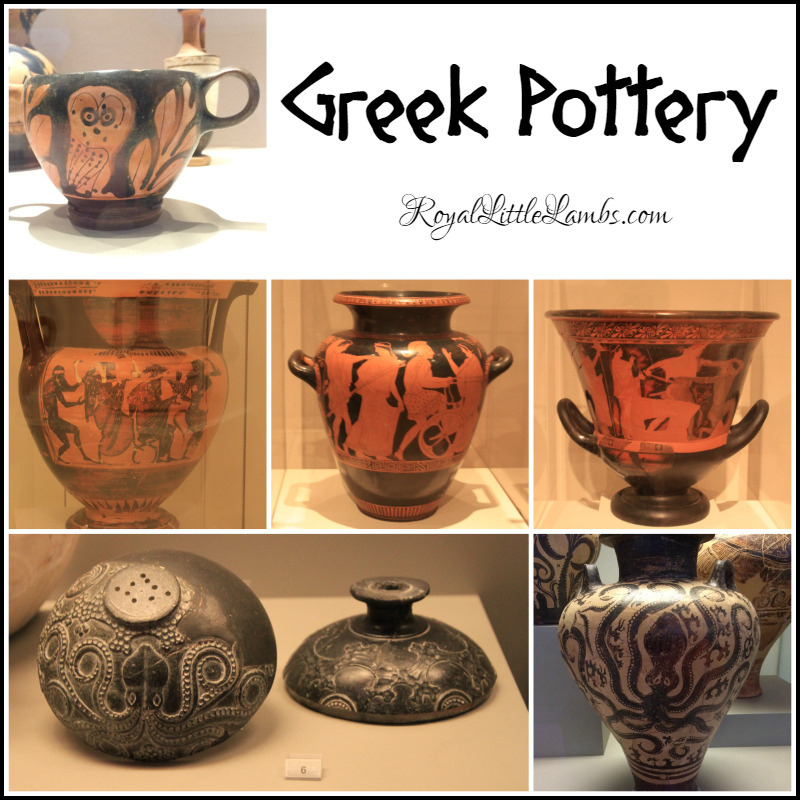
 – mostly black, orange, brown, red, and white to be more authentic.