

My family reviewed Supercharged Science with its experiential e-Science program.
All four of my kids got involved which I loved. It’s not often I can work in lessons that a 3 year old, 6 year old, 7 year old, and almost 13 year old can do together and enjoy and learn!

If you have questions, you can call or email for help and they’ll get right back to you.
Nine steps the e-Science program provides in their detailed lesson plans:
- Unit Description: This answers the “What is it?” and “Why should I care?”
- Outcomes/Goals: What do you want the students to learn?
- Objectives/Highlights: Detail the key concept and topic into chunks.
- Introduction: How will you present the topic to the students?
- Development: This stirs up interest and gets students motivated to learn.
- Practice: Bringing the key concept to life.
- Further Study: Answering questions and gaining momentum.
- Evaluation: How well did you teach and how well did they learn the material?
- Closure: Before moving on, celebrate your success!
(Note: The e-Science program does not cover creation nor evolution so all families may participate. The focus of the program is on how to launch the rocket, build the robot, use a microscope, take measurements and data, etc.) YAY!
Here’s a screenshot of all the units available. Overwhelming! We watched some of the videos that went along with what Liz has been studying.

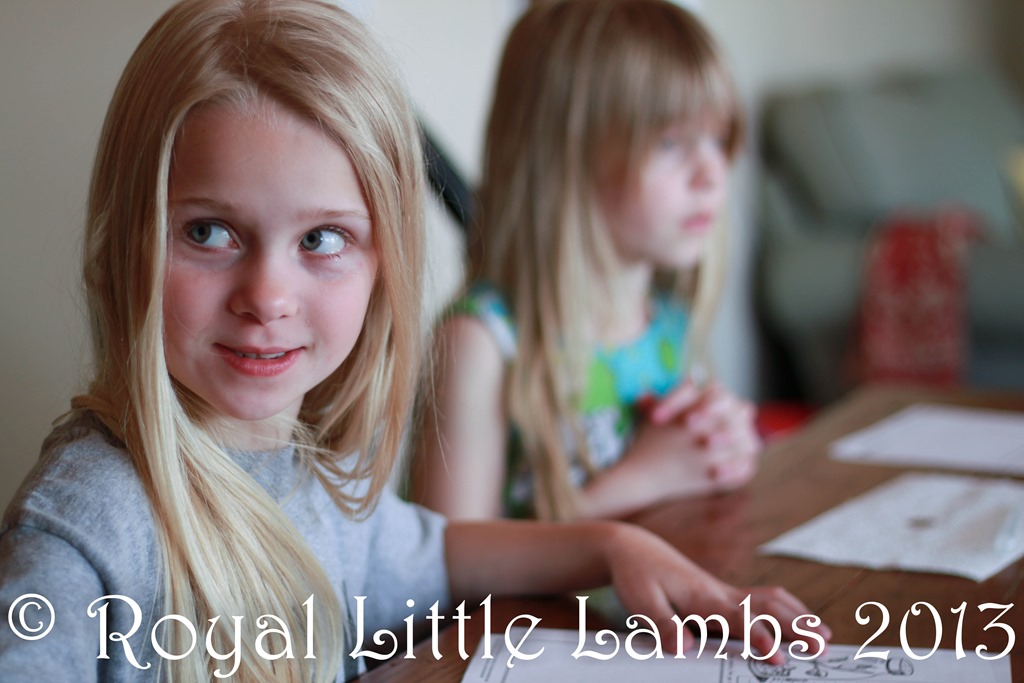
Here’s my littlest scientist ready to explore!

We watched lots of videos about math. Tori really enjoyed those. She’s our math girl!
We learned about the scientific method with water and pennies. This was review for Elizabeth, but rather new for Tori and Kate, and of course, Alex.
The experiment is titled “Underwater Presidents.”
The girls hypothesized how many drops of water the penny would hold before it spilled over the edges.
I walked them through the process and we read the lesson together. We observed our materials and discussed what could happen and why.
My kinesthetic learner, Alex, loved this. He was such a big boy!

Kate repeated her experiment three times to get an average result.

Alex wanted to do this over and over and over. He loved it. We must do it with other coins to compare our results!

We wrote up our materials, procedure, drew a picture of what we did and wrote down our results and conclusion. We discussed why the different pennies took different amounts of water: dirt, different size drops, bumps in paper towel slanted the penny, etc.

Liz has been studying anatomy lately and they offer conversion charts so you can cross-reference their program with one you’re already using. perfect!
Liz and I watched a video together about nerves and that was amazingly entertaining. The narrator was just fun.
We decided to make a working hand model as a family. My husband, Aaron, had to do most of this one without kid help since it involved slicing and hot glue.

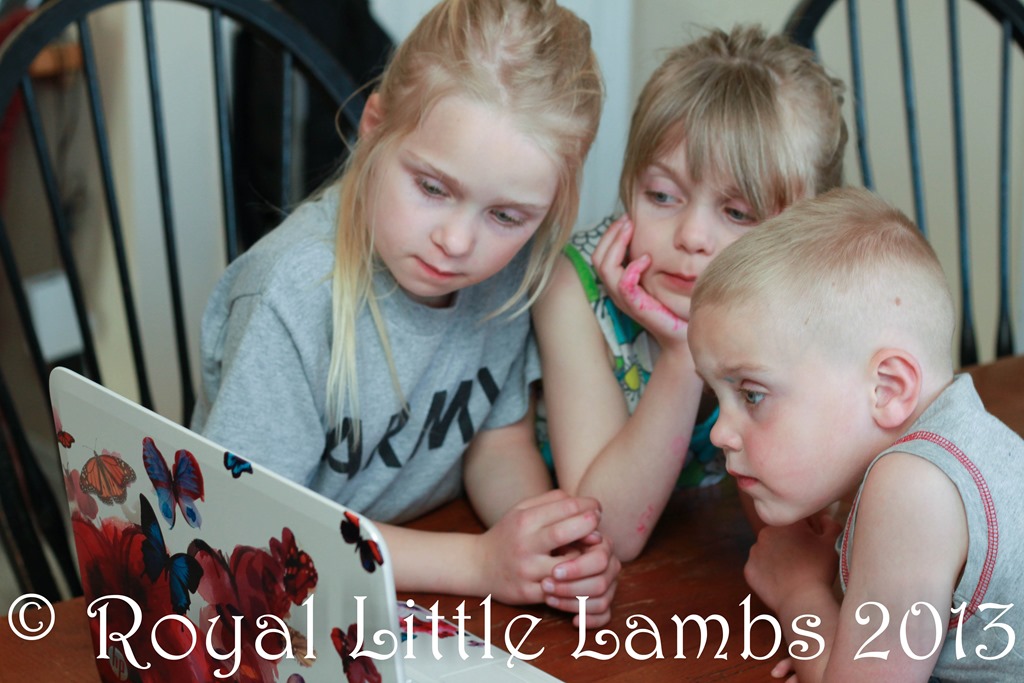
The kids watch the video about how to make the hand model.
I read the text material aloud to the kids and we demonstrated the hand model and explained how it all worked and we looked at our own hands and felt the muscles and tendons and discussed the different bones.
Liz demonstrates how the hand works. Hers is the one on the left. ha.

Dad extends the lesson. Kate looks at the insides of a chicken bone. We discussed what blood does and how bones are made.

What do we think?
Overall, I really like the idea of the program. It got me out of my comfort zone and the videos walk you through the experiments so that’s easy for me to follow. We’ll use it as a supplement to our current science program.
The kids loved watching videos.
I am really horrible at fitting in arts, crafts, experiments…and I really felt convicted that I don’t do more of this with my kids. They LOVED the together time with BOTH parents, so we’re going to try to make it a regular “Science Sunday” at our house whenever possible schedule-wise.
Many of the experiments weren’t feasible for us since we didn’t have some of the materials or they were too dangerous for me to finagle with four kids. Thankfully, my husband is a scientist! He didn’t care to get crafty, but he did it for me. And for science. They offer a shopping guide for each unit so you can glance at that and see what you have already and what you need to acquire so you can be prepared.
The recommended age level for the program we reviewed is K-8. The program offers many choices within the site to choose from based on ability and resources. Some of the more advanced experiments are phenomenal, like building a hovercraft and alternative energy! When the kids get a bit older, I would love to utilize some of the more bizarre and advanced experiments. I can hardly wait. Now that the weather is getting nicer, I want to build rockets and do some of the fun and messy experiments.
There’s a list of recommended resources, like a science gift guide with books and games and equipment for your science lover! There are oodles of experiments for award-winning science fair projects. If we ever choose to participate in one, this is where I’ll look for ideas!
Here’s the purchase info:
Membership benefits:
- Videos of teaching real science to your kids, just like I do in an actual classroom
- Text-book type reading to support the material in the videos
- Hands-on activities and experiments, with videos that guide your kids through them. These activities and experiments are what really ignite a passion for science in most kids.
- Homework exercises/quizzes so you can see what your kids are really learning, and tips for how to keep track of your progress in a real a science journal
- A live science class in difference science areas every few weeks where you can connect with me personally
- Parent resources for helping you give your kids the best science education they can get
- A place to ask me questions (lots of them!)
- Recordings of everything so your kids can do the program on whatever schedule AND at whatever pace suits them.


This looks like a really fun science program. I like your model of the human hand with the straws cut for the different bones. I did something similar with my kids when we cut pipe cleaner and glued it down on a hand print, to see that the thumb had two bones while the other fingers had three. My kids love hands-on projects like that!
yes, I noted how much my kids enjoyed it and how I must get out of my comfort zone more and do these hands-on crafty things even if they’re inconvenient and messy. ;)